project:cfg:BoardConfig_IPC: Added fastboot BoardConfig file and firmware post-scripts, distinguishing between the BoardConfigs for Luckfox Pico Pro and Luckfox Pico Max. project:app: Added fastboot_client and rk_smart_door for quick boot applications; updated rkipc app to adapt to the latest media library. media:samples: Added more usage examples. media:rockit: Fixed bugs; removed support for retrieving data frames from VPSS. media:isp: Updated rkaiq library and related tools to support connection to RKISP_Tuner. sysdrv:Makefile: Added support for compiling drv_ko on Luckfox Pico Ultra W using Ubuntu; added support for custom root filesystem. sysdrv:tools:board: Updated Buildroot optional mirror sources, updated some software versions, and stored device tree files and configuration files that undergo multiple modifications for U-Boot and kernel separately. sysdrv:source:mcu: Used RISC-V MCU SDK with RT-Thread system, mainly for initializing camera AE during quick boot. sysdrv:source:uboot: Added support for fastboot; added high baud rate DDR bin for serial firmware upgrades. sysdrv:source:kernel: Upgraded to version 5.10.160; increased NPU frequency for RV1106G3; added support for fastboot. Signed-off-by: luckfox-eng29 <eng29@luckfox.com> |
||
|---|---|---|
| .. | ||
| assets | ||
| lv_demo_benchmark.c | ||
| lv_demo_benchmark.h | ||
| README.md | ||
| screenshot1.png | ||
| screenshot2.png | ||
Benchmark demo
Overview
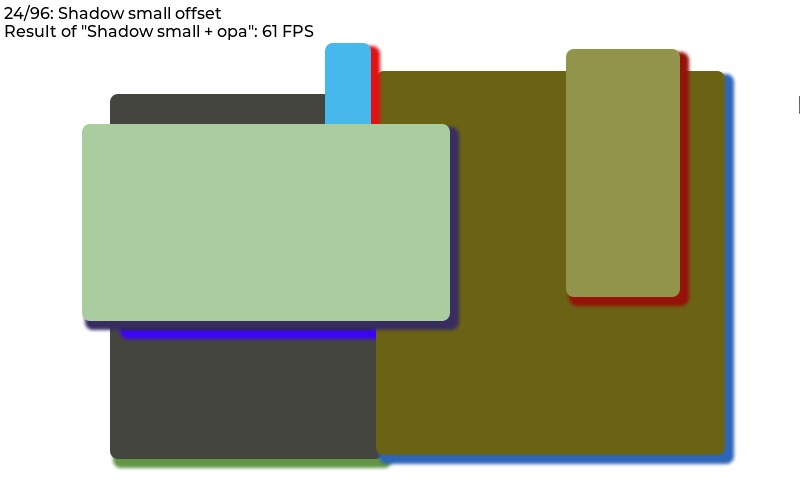
The benchmark demo tests the performance in various cases. For example rectangle, border, shadow, text, image blending, image transformation, blending modes, etc. All tests are repeated with 50% opacity.
The size and position of the objects during testing are set with a pseudo random number to make the benchmark repeatable.
On to top of the screen the title of the current test step, and the result of the previous step is displayed.
Run the benchmark
- In
lv_conf.hor equivalent places setLV_USE_DEMO_BENCHMARK 1 - After
lv_init()and initializing the drivers calllv_demo_benchmark() - If you only want to run a specific scene for any purpose (e.g. debug, performance optimization etc.), you can call
lv_demo_benchmark_run_scene()instead oflv_demo_benchmark()and pass the scene number. - If you enabled trace output by setting macro
LV_USE_LOGto1and trace levelLV_LOG_LEVELtoLV_LOG_LEVEL_USERor higher, benchmark results are printed out incsvformat. - If you want to know when the testing is finished, you can register a callback function via
lv_demo_benchmark_register_finished_handler()before callinglv_demo_benchmark()orlv_demo_benchmark_run_scene(). - If you want to know the maximum rendering performance of the system, call
lv_demo_benchmark_set_max_speed(true)beforelv_demo_benchmark().
Interpret the result
The FPS is measured like this:
- load the next step
- in the display driver's
monitor_cbaccumulate the time-to-render and the number of cycles - measure for 1 second
- calculate
FPS = time_sum / render_cnt
Note that it can result in very high FPS results for simple cases.
E.g. if some simple rectangles are drawn in 5 ms, the benchmark will tell it's 200 FPS.
So it ignores LV_DISP_REFR_PERIOD which tells LVGL how often it should refresh the screen.
In other words, the benchmark shows the FPS from the pure rendering time.
By default, only the changed areas are refreshed. It means if only a few pixels are changed in 1 ms the benchmark will show 1000 FPS. To measure the performance with full screen refresh uncomment lv_obj_invalidate(lv_scr_act()) in monitor_cb() in lv_demo_benchmark.c.
If you are doing performance analysis for 2D image processing optimization, LCD latency (flushing data to LCD) introduced by disp_flush() might dilute the performance results of the LVGL drawing process, hence make it harder to see your optimization results (gain or loss). To avoid such problem, please:
- Use a flag to control the LCD flushing inside
disp_flush(). For example:
volatile bool disp_flush_enabled = true;

/* Enable updating the screen (the flushing process) when disp_flush() is called by LVGL
 */
void disp_enable_update(void)
{
    disp_flush_enabled = true;
}

/* Disable updating the screen (the flushing process) when disp_flush() is called by LVGL
 */
void disp_disable_update(void)
{
    disp_flush_enabled = false;
}

static void disp_flush(lv_disp_drv_t * disp_drv, const lv_area_t * area, lv_color_t * color_p)
{
    if(disp_flush_enabled) {
        GLCD_DrawBitmap(area->x1,                   //!< x
                        area->y1,                   //!< y
                        area->x2 - area->x1 + 1,    //!< width
                        area->y2 - area->y1 + 1,    //!< height
                        (const uint8_t *)color_p);
    }

    /*IMPORTANT!!!
     *Inform the graphics library that you are ready with the flushing*/
    lv_disp_flush_ready(disp_drv);
}
- Disable flushing before calling
lv_demo_benchmark()orlv_demo_benchmark_run_scene(), for example:
extern void disp_enable_update(void);
extern void disp_disable_update(void);

static void on_benchmark_finished(void)
{
    disp_enable_update();
}

int main(void)
{
    lv_init();
    lv_port_disp_init();
    lv_port_indev_init();

    LV_LOG("Running LVGL Benchmark...");
    LV_LOG("Please stand by...");
    LV_LOG("NOTE: You will NOT see anything until the end.");

    disp_disable_update();

    lv_demo_benchmark_set_finished_cb(&on_benchmark_finished);
    lv_demo_benchmark_set_max_speed(true);
    lv_demo_benchmark();

    //lv_demo_benchmark_run_scene(43);      // run scene no 31

    ...
    while(1){
        lv_timer_handler();                 //! run lv task at the max speed
    }
}
- Alternatively, you can use trace output to get the benchmark results in csv format by:
- Setting macro
LV_USE_LOGto1 - Setting trace level
LV_LOG_LEVELtoLV_LOG_LEVEL_USERor higher.
- Setting macro
Result summary
In the end, a table is created to display measured FPS values.
On top of the summary screen, the "Weighted FPS" value is shown. In this, the result of the more common cases are taken into account with a higher weight.
"Opa. speed" shows the speed of the measurements with opacity compared to full opacity. E.g. "Opa. speed = 90%" means that rendering with opacity is 10% slower.
In the first section of the table, "Slow but common cases", those cases are displayed which are considered common but were slower than 20 FPS.
Below this in the "All cases section" all the results are shown. The < 10 FPS results are shown with red, the >= 10 but < 20 FPS values are displayed with orange.
